


My little finger tells me that you are about to change your decor! Am I right? Easy deduction, if you are looking for how to put up panoramic wallpaper. 😉
How to install panoramic wallpaper?
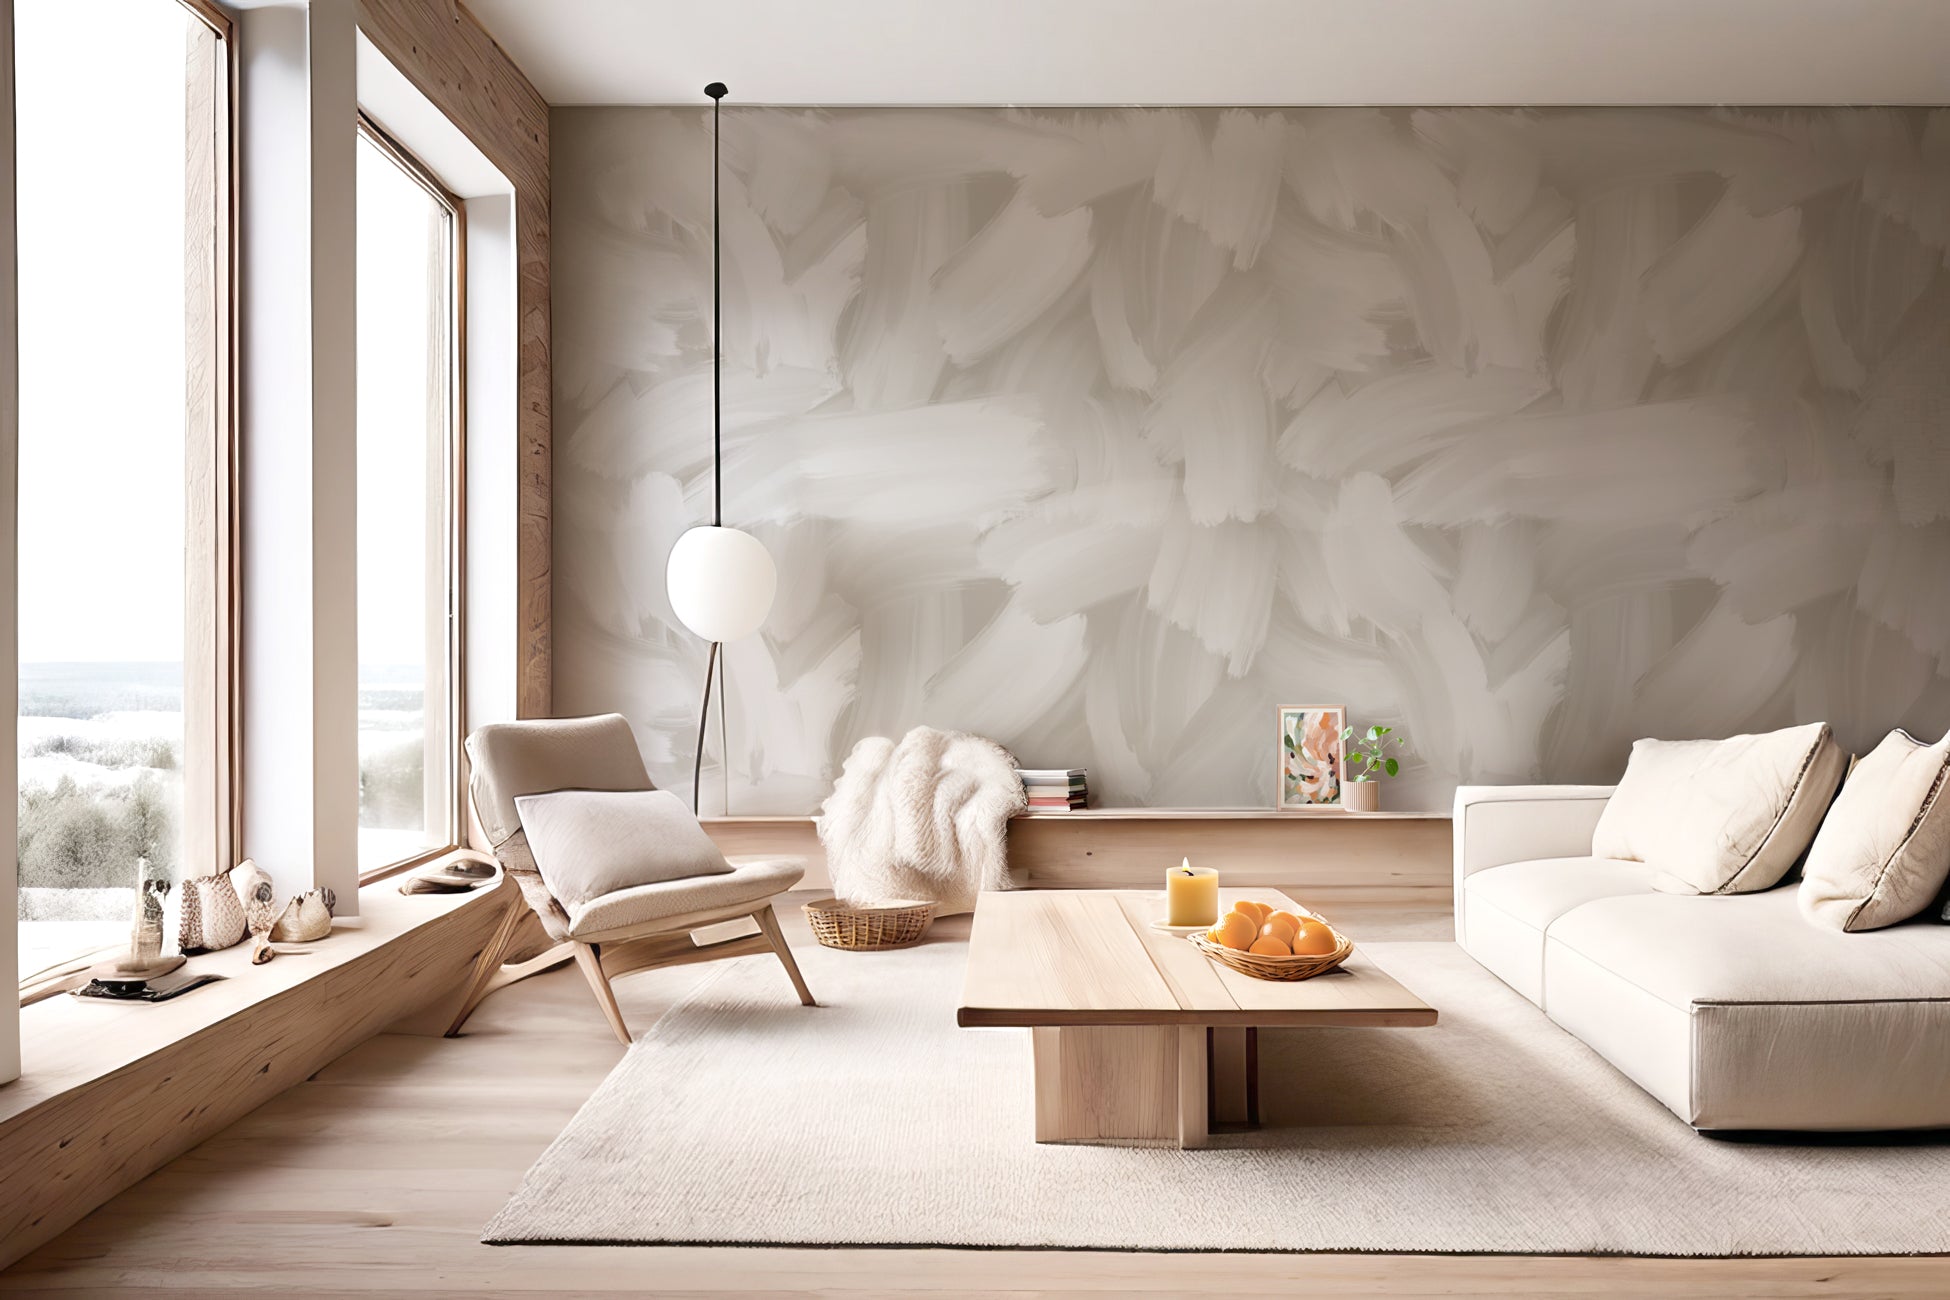
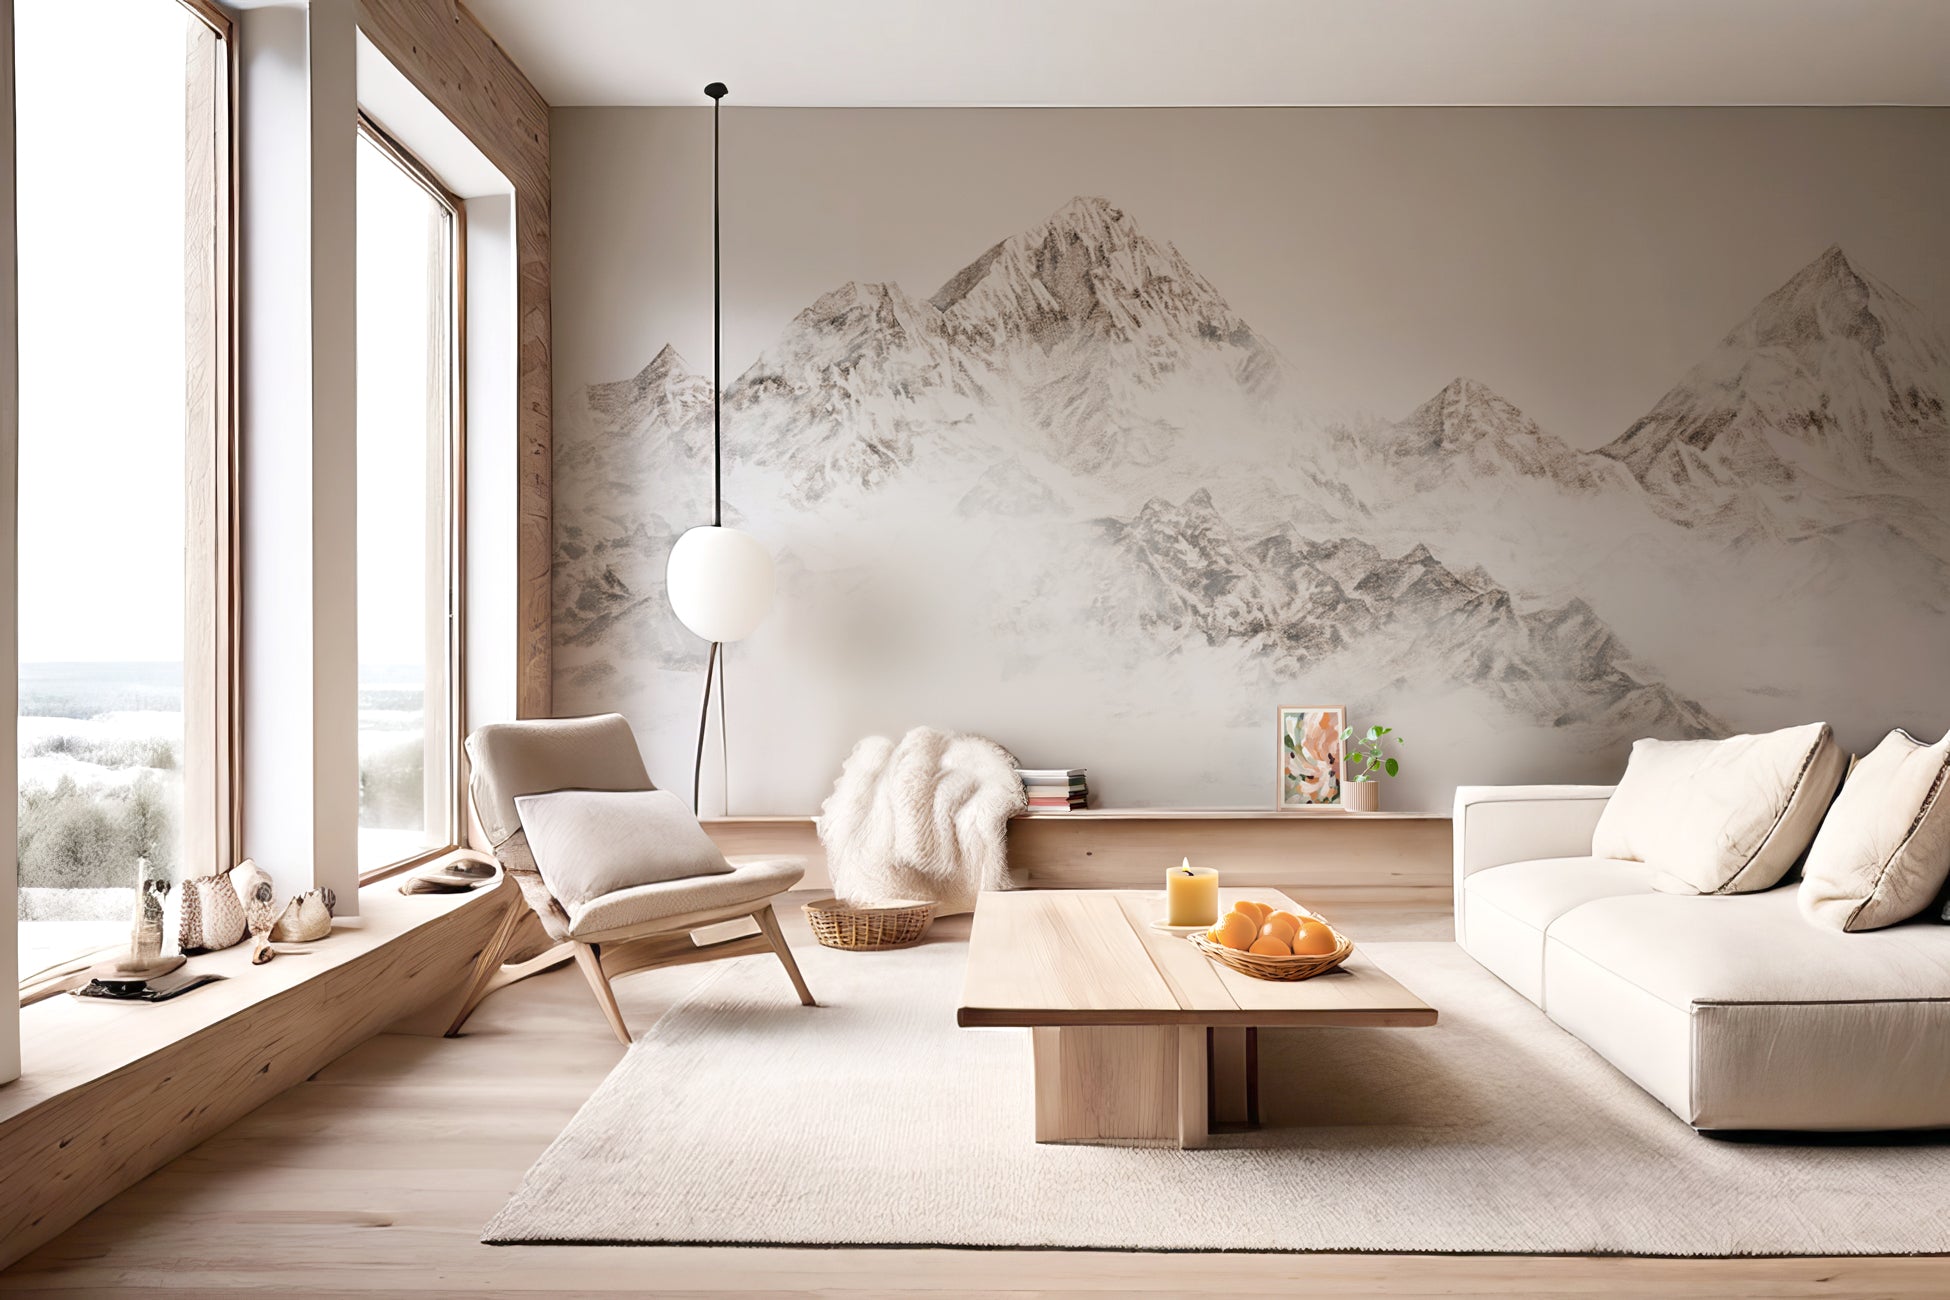
Panoramic wallpaper is very trendy in the world of decoration, and it is now on the podium of MUST HAVEs to have. Wallpaper is appreciated in all rooms of the house, and for good reason: it dares colors, asserts its shapes. It transforms your interior, and makes it even more magnificent, in just a few hours. And above all it is easy to install!
Are you still hesitating to get started because the installation scares you? Come on, we're going to help you see things more clearly when it comes to installing panoramic wallpaper. You'll see, a little elbow grease, and hey presto, it's done, it's installed.
Thanks to the evolution of wallpaper types, which you will find right here , you no longer have to be afraid to install your own wall covering, thanks to non-woven wallpaper. But of course, if you prefer to call on a professional, you can. You are free to make your own choices. 😊
Grab your panoramic wallpaper and let’s go!
When to put up your wallpaper?
Is there a right time to hang wallpaper? The experts will tell you yes, and we can tell you: it's TRUE. Many factors can come into play when hanging wallpaper: heat, humidity, type of glue, type of wall, etc. But it's like everything. We just advise you to pay attention to the temperature of your room: avoid hanging your wallpaper on a hot day, because the glue can play tricks on you. 😉
What materials do you need to install non-woven wallpaper?
To be as comfortable as possible with your pose, we advise you to gather the following material:
- A level or plumb line
- A cutter with a new blade
- A marouflage spatula
- A glue brush
- A pot of glue for non-woven wallpaper
- A slightly damp sponge or microfiber cloth
- A tapestry ruler
Cutter
Glue brush
Marouflage spatula
Non-woven wallpaper glue
How to prepare a wall for wallpapering?
This is a step that may seem trivial at first, but it is this one that will allow you to obtain a perfect and flawless pose.
The different cases of preparation and support
► If your wall is already covered with wallpaper, fiberglass, or another material , you must remove it, find the "raw" wall, coat it if there are holes and sand it so that it is smooth and without roughness.
► If your wall is painted in a bright colour or one that goes against the panoramic wallpaper you have chosen , we advise you to repaint it in white, so that the colour does not stand out in the light through your wallpaper, or so that the paint is visible when the joints shrink, between the strips and on the edges of your wall.
► If your wall is very damaged , you should fill the holes and cracks, then sand and clean the dust. Your wall must be completely smooth.
► If you want to put your panoramic wallpaper on cupboard doors , they must be very smooth, and a coat of primer must be applied so that the glue adheres well.
► If your wall is new, you should apply either a primer or a bonding primer.
In all the above cases, you will need to clean the wall with a slightly damp microfiber cloth to remove all possible dust. Finally, your wall must be clean and dry before applying the glue.
Let's move on to the installation, the famous installation of panoramic wallpaper
A panoramic wallpaper is read like a sentence, from left to right. This is why you will have to start your installation on the left corner of your wall, with strip no. 1.
Correctly take the level of your wall
It is important to level your wall so that your mural is straight. To do this, place your level directly on the wall (not in the corner, because walls are never 100% straight), and draw the level line with a pencil. The line should not be very pronounced, so that it cannot be seen through your wallpaper.
Gluing
If you have opted for a panoramic wallpaper from MuralConcept, do not worry about pre-pasting the paper. Our wallpapers are non-woven and therefore allow direct installation on the wall.
The glue dries quickly, which is why we advise you to apply your glue with a brush only to the place where you are going to lay your strip. Do not glue the entire wall directly, the glue may dry out as you lay it .
Laying the first strip
The glue is applied, the level is done, you are ready for the long-awaited moment: the installation of the first strip of wallpaper. We advise you to leave a very small margin in height and width to facilitate installation. Once the first strip is installed, remember to smooth it down well with your spatula to remove all the air bubbles and excess glue that may have settled under the first strip.
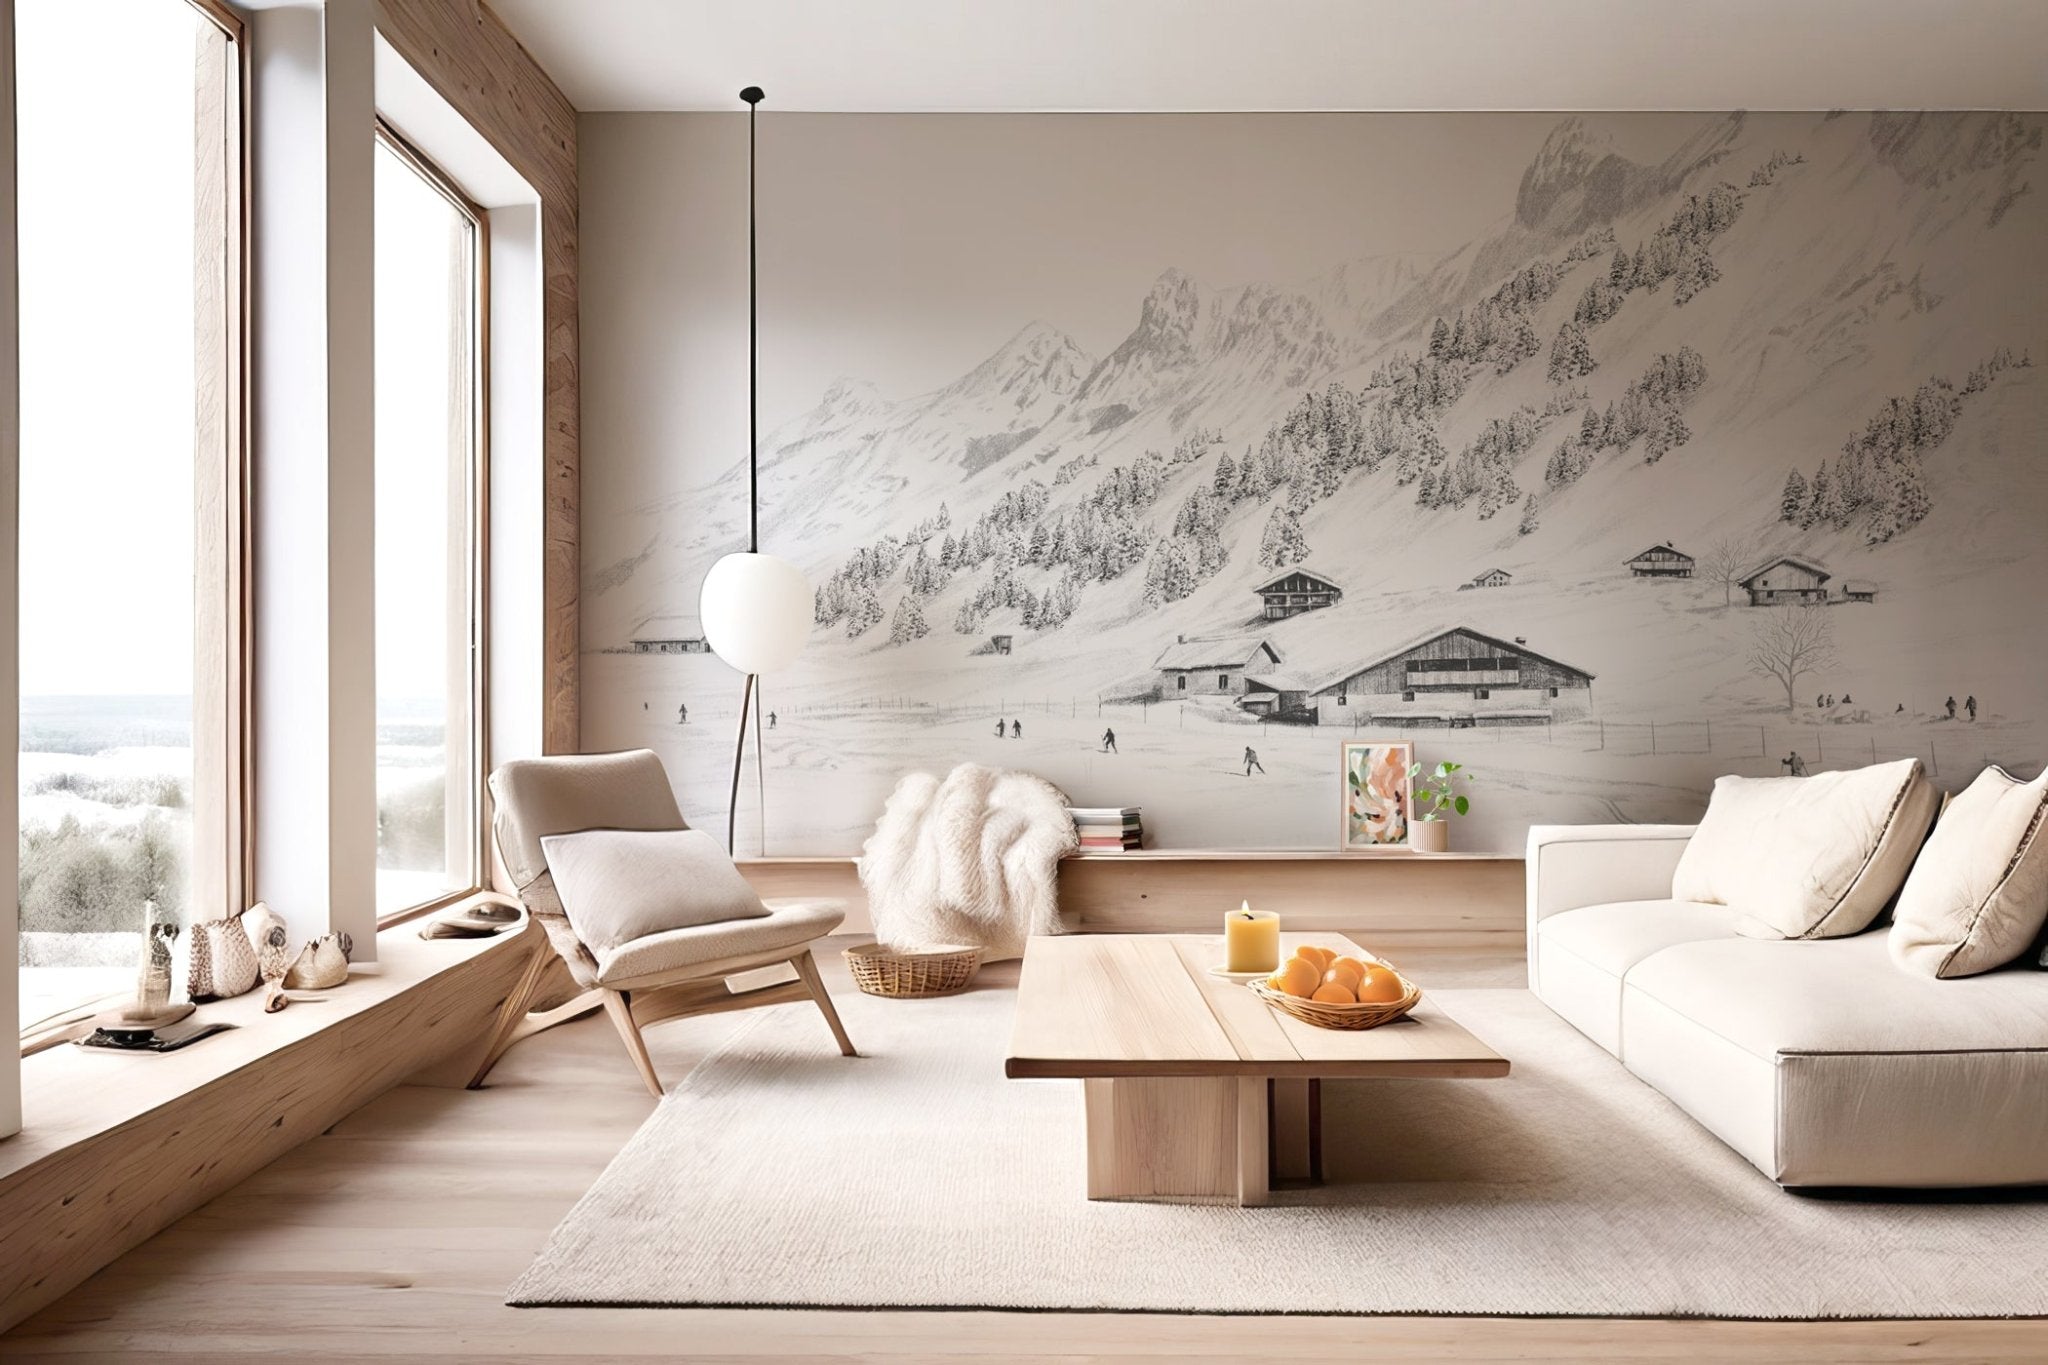
The hardest part is over, you can now continue your installation by repeating the gluing, installation and marouflage. Our panoramic wallpapers are custom-made, so don't worry about the connections, they will be easy to find. Also, when joining the strips, make sure that the strips are well glued, because when drying, the strips can shrink slightly. Remember to clean the excess glue with a damp light microfibre.
The finishes, for a perfect result
The last step is to perfect your panoramic for a breathtaking result. To do this, smooth your joints well with your marouflage spatula. You can also use a joint roller if you wish, for more ease. Finally, clean the edges of your custom wallpaper and the joints of the strips with a sponge or a slightly damp microfiber to remove glue residue, which can, if not cleaned, cause stains to appear on your beautiful panoramic wallpaper.
The final word ♥
At MuralConcept, we are committed to ensuring that all of our customers and partners succeed in their installation as best as possible, to obtain a perfect and spectacular result, whether you are a professional or simply a beginner. This is why we print our wallpapers so that they are easy to install:
→ Our strips are numbered, so that you don't make a mistake in the order of installation
→ No need for pre-pasting, pasting to the wall is enough
→ Having wallpaper that fits your wall makes it easier to install and make connections.
→ We adapt the size of the strips according to the size of your wall for even easier installation
You now have all the keys in hand to know how to successfully install panoramic wallpaper. Did our article help you? Please note that if you have any questions or doubts, our customer service will be happy to enlighten you and help you prepare your installation.
To contact our customer service, click here.
We have also specially created an installation guide for you, which will help you step by step, in PDF format that you can print.
