


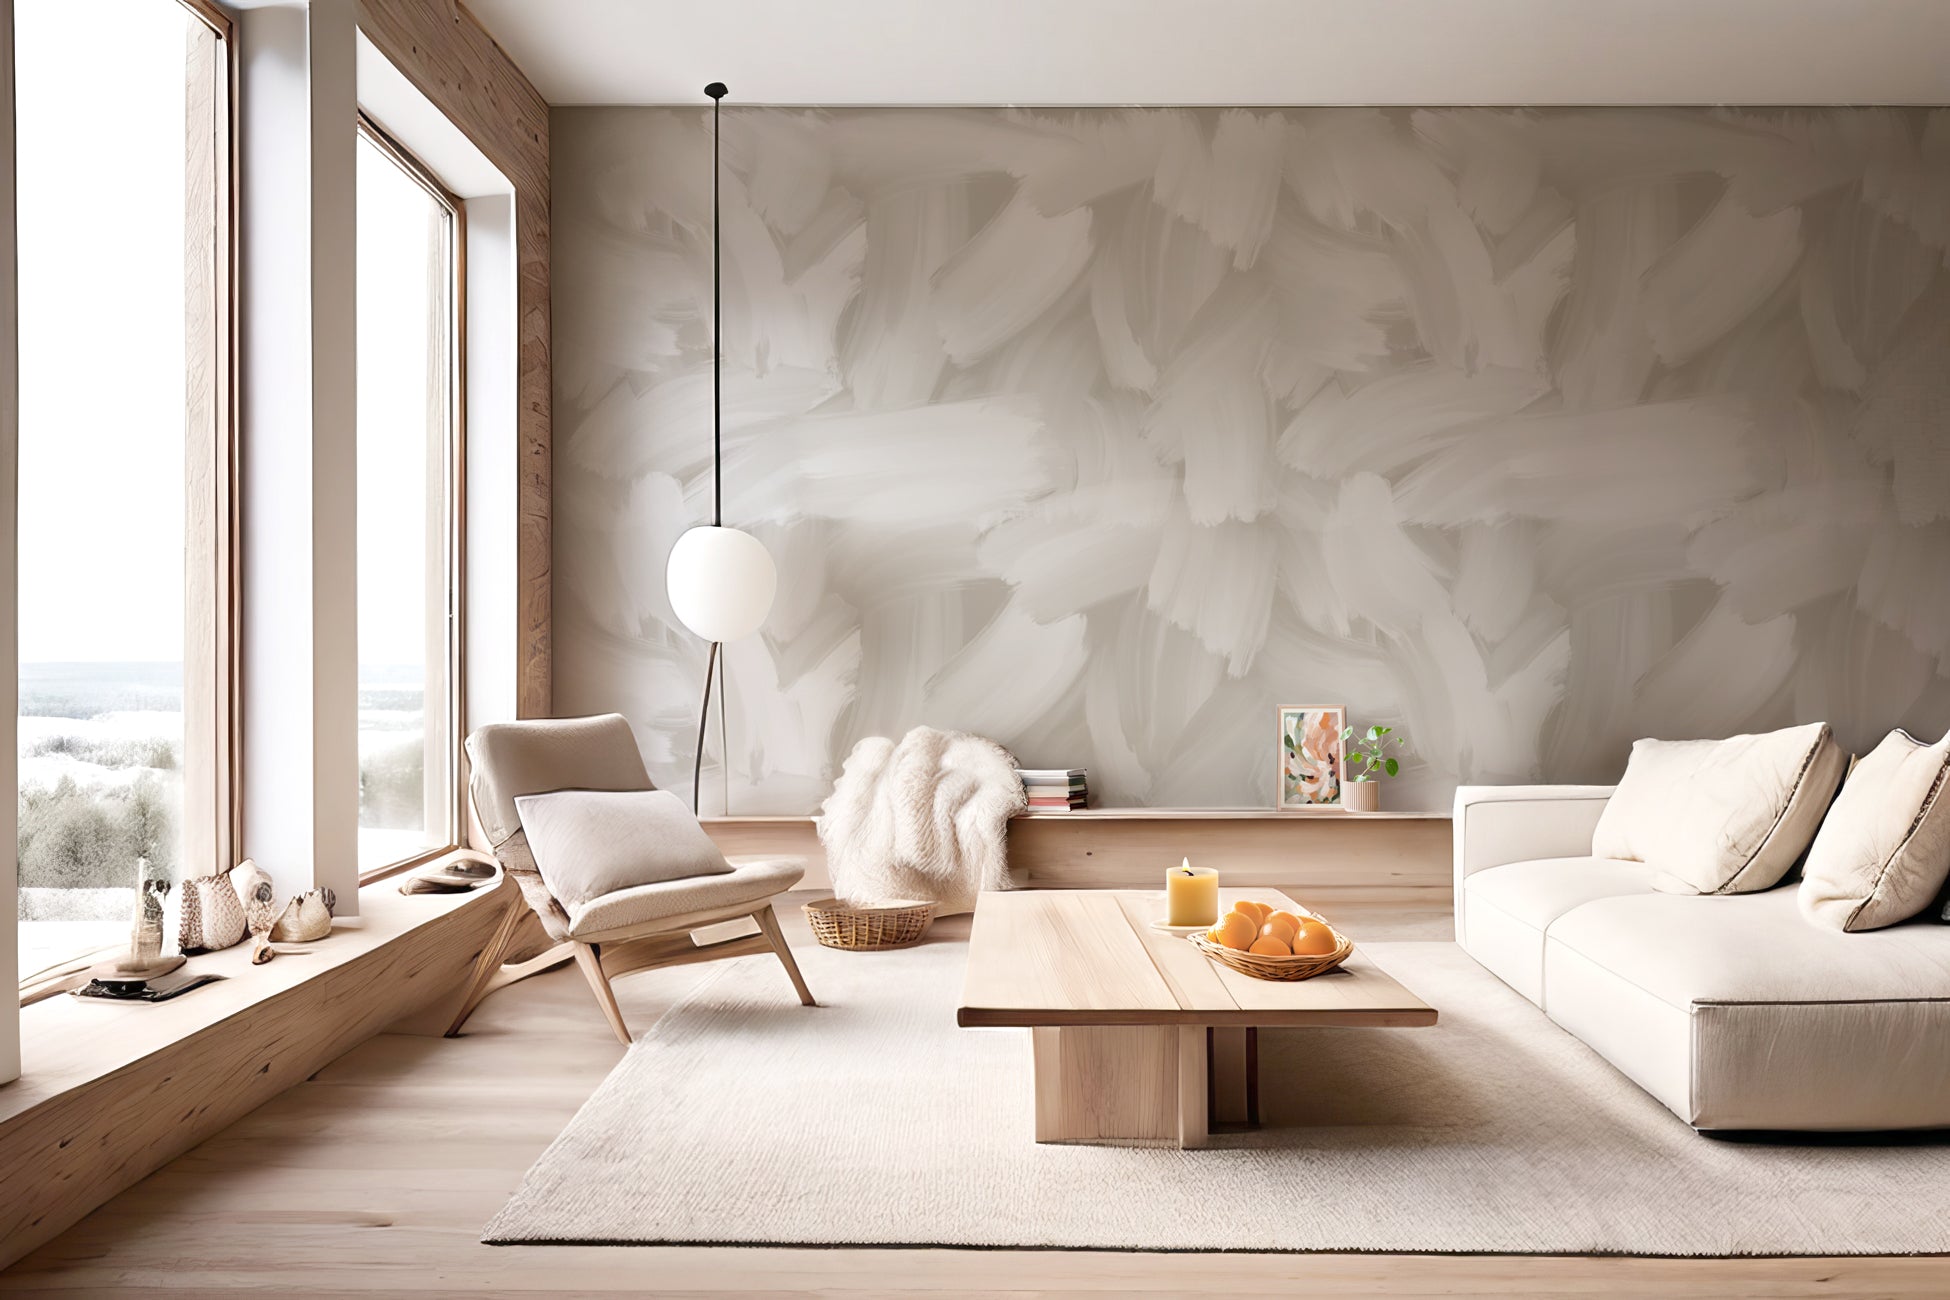


Panoramic wallpaper is the trendy and timeless wall covering that all decorators, whether novice or professional, are fighting over. Did you know that wallpaper is the perfect way to decorate openings, such as doors and windows? Let's discover together the installation tips to enhance your interior decoration.
How to put wallpaper around a window?
By Julie
Wallpaper dresses the walls and openings
⏱ Reading time: 5 minutes Hanging wallpaper around an opening (window)
Laying the wallpaper
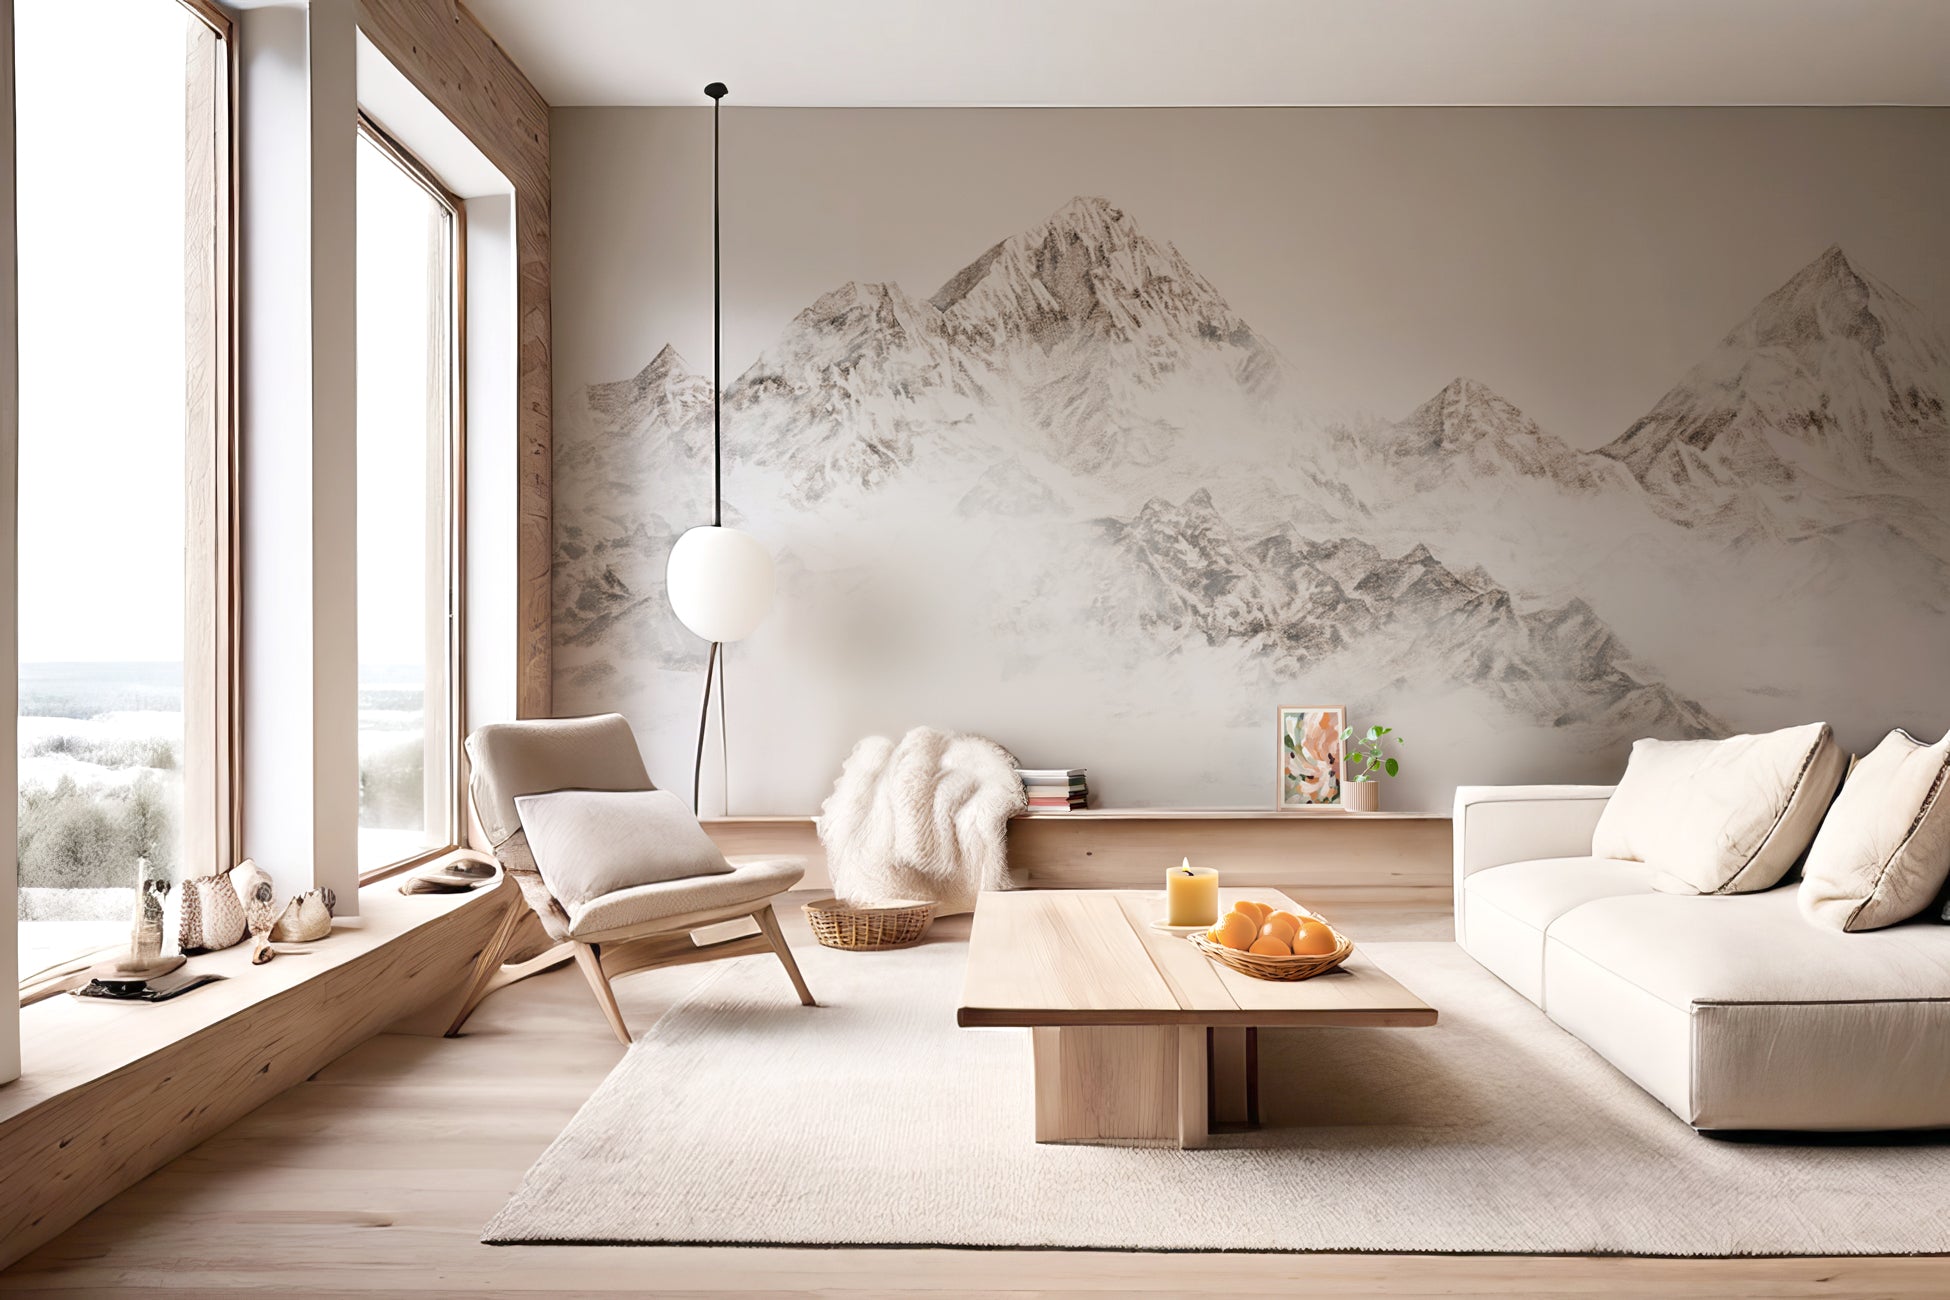
As a beginner, you dream of putting up your first panoramic wallpaper, but you don't dare to take the plunge because there is a window on your wall? Don't worry, just because your wall has a light opening doesn't mean you can't wallpaper it. With patience and a little technique, you can easily achieve a professional result, even if it's your first time. Through this article, learn the right techniques to wallpaper around your window like a pro, and without stress. The atmosphere of your room will be magnified.
Hanging panoramic wallpaper around a window: good or bad idea?
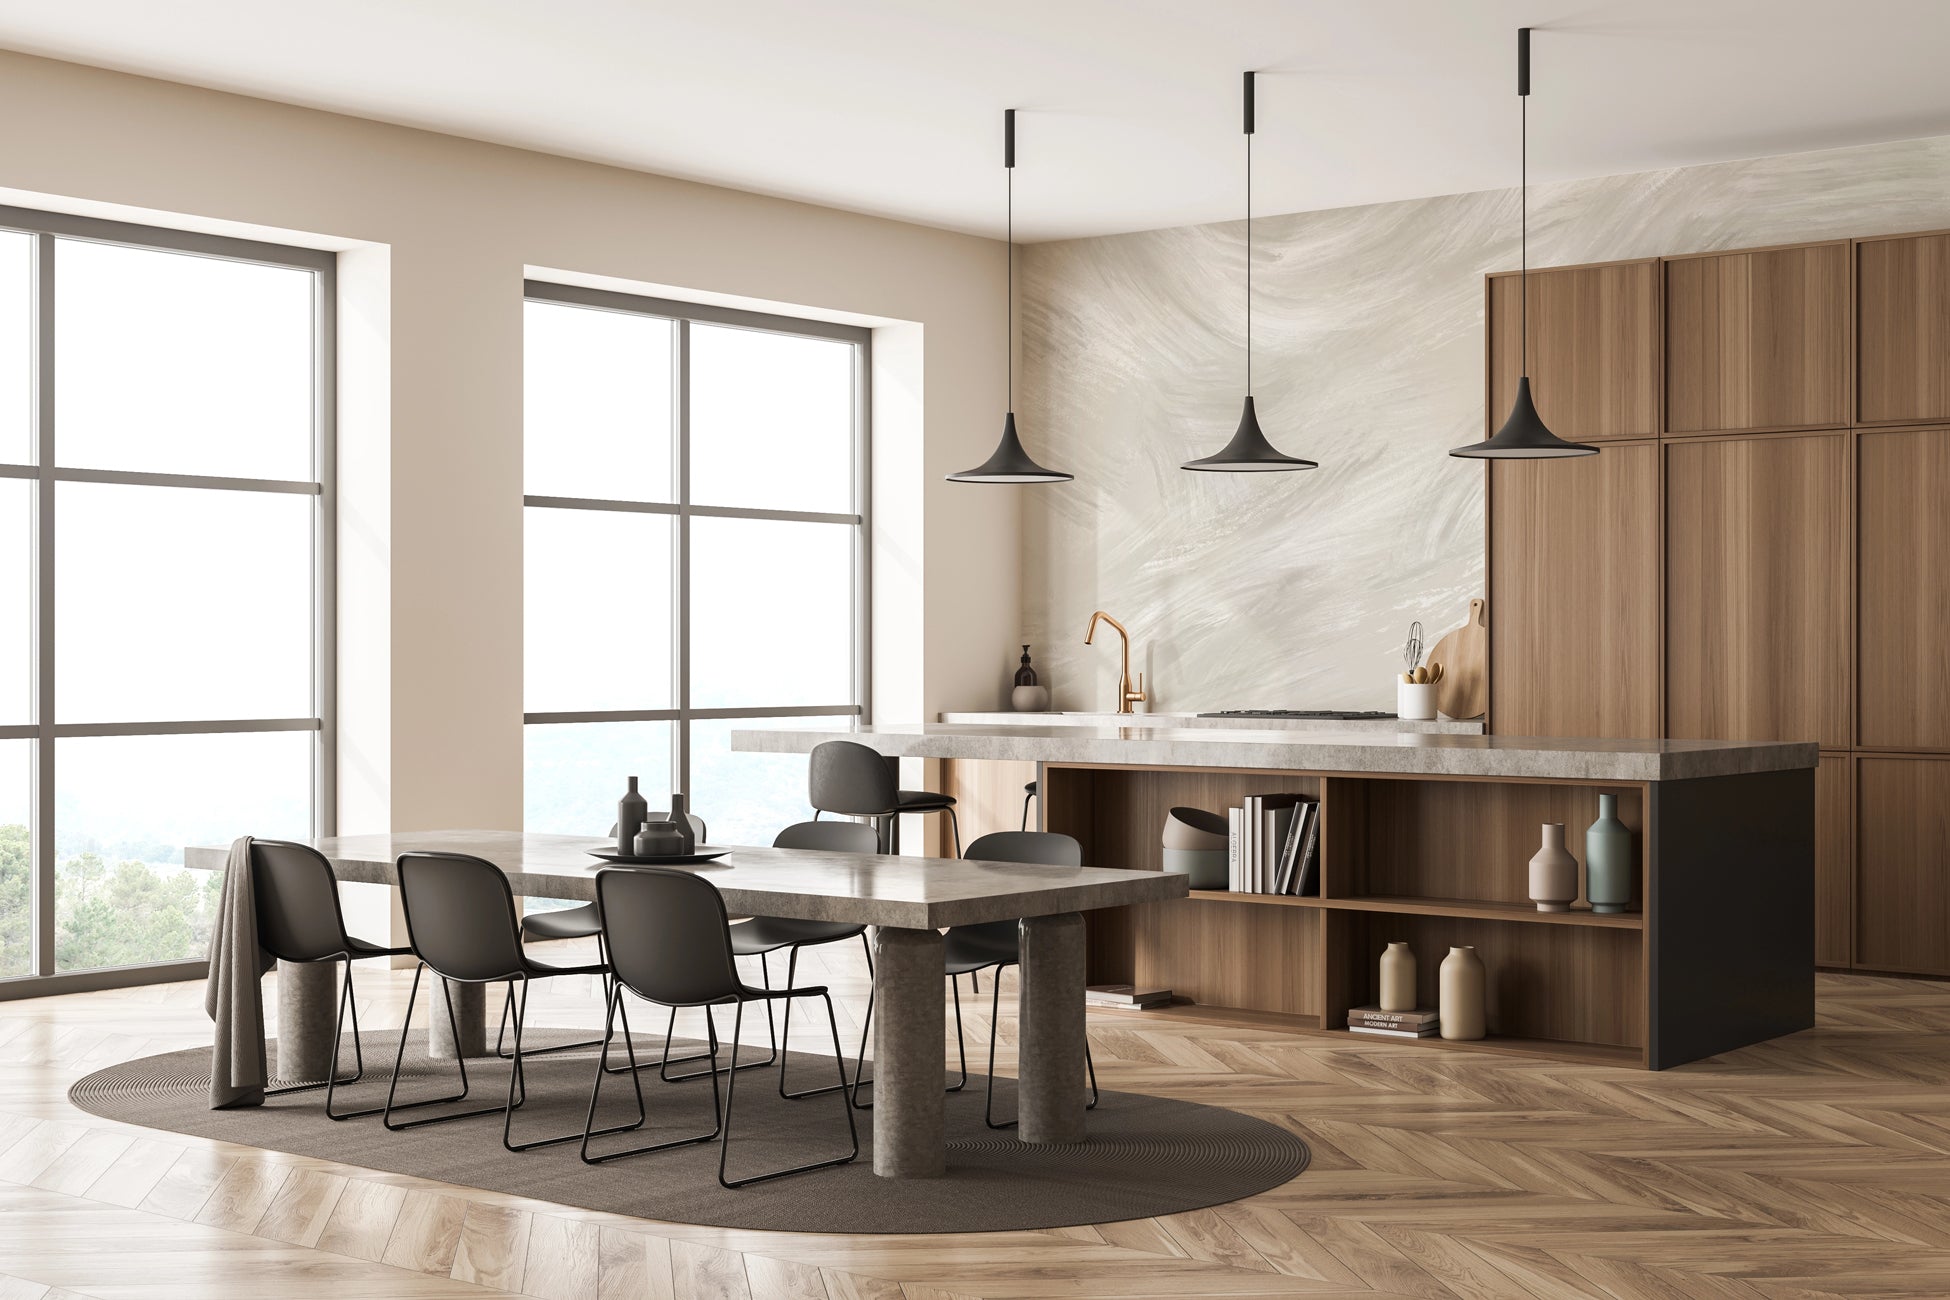
Installing a panoramic wallpaper on a wall with a window can transform your space into a true work of art, creating an immersive atmosphere through your window . With your window, you have the opportunity to harmoniously coordinate your interior decoration: match your curtains or blinds, choose a panoramic wallpaper that adapts to the real view of your exterior, in order to create visual continuity and give an impression of enlarged space.
Necessary materials and preparation before installation
1. Your equipment list
Make sure you have all the necessary materials for your installation before you start creating your new wall decoration: your new wallpaper, non-woven wallpaper glue, a glue brush, a cutter (with new blades), a smoothing spatula, a metal ruler, a pencil, a microfibre cloth.
Find our installation guides for our non-woven panoramic wallpapers on our online site.
2. Preparation before hanging your wallpaper
Make sure your wall is smooth, without any roughness. Do not hesitate to sand lightly, so that your surface is flat. Once this is done, clean your wall with your microfiber cloth, then dry.
- If you wish, you can protect your floor from the glue with newspaper or a tarpaulin.
- Draw a line on your wall using a pencil (very light, almost invisible). This line will be used to hang your first straight strip of wallpaper.
- Laying your strips of wallpaper on your full wall (without windows) is standard.
Necessary materials and preparation before installation
1. Preview your tile location
We recommend that you have two people for this step, so that the next step is easier. Pre-place your panoramic wallpaper next to your window.
The idea is to visualize how your strip of wallpaper will look in relation to your window.
2. Make three cuts
Once the custom panoramic wallpaper is juxtaposed (not pasted), we recommend that you make a cut at the interior position of your window, then diagonally on the edge of your window.
This step is necessary to avoid bending and tearing your wallpaper when installing it, due to the relief of your window.
3. Paste and smooth your wallpaper
Once you have made your cuts, lay your wallpaper on the floor. Paste the wall over its entire height, and then start by laying the top of the strip of wallpaper, above your window. Use your smoothing spatula to break the air and stick the top of the strip well. Once this step is done, you can fold your wallpaper using your metal ruler or your smoothing tool on the edges and the edge of your window.
4. Cut and finalize
Then, using a cutter and a metal ruler, carefully cut the wallpaper around your window frame. Be careful to be meticulous and not to pull on the wallpaper while installing it. We leave it to you to finish your peaceful wallpaper installation! Remember to clean your joints, connections and window and wall surrounds.
Tips & advice for a perfect installation finish
Having an impeccable result like a professional is possible! We congratulate you already for all these steps taken. In order to perfect the result of your panoramic wallpaper installation, here are some tips and advice to follow:
- Once your custom wallpaper is completely installed, go over it once with your smoothing spatula to remove any remaining air bubbles.
- Carefully clean all your joints and wall surrounds, in order to remove any potential glue residue, which could stain your sublime wallpaper when drying.
- For a perfect finish, you can apply a transparent finishing joint around the perimeter of your wall, and also around the perimeter of your window.
- Installing panoramic wallpaper around a window requires a little more precision and patience than if the wallpaper were to be installed on a full wall. However, with the right techniques and meticulous gestures, it is very easy to achieve a professional and impeccable result. By following our MuralConcept installation guide , and our article here, you will be able to transform your walls and create a harmonious space.
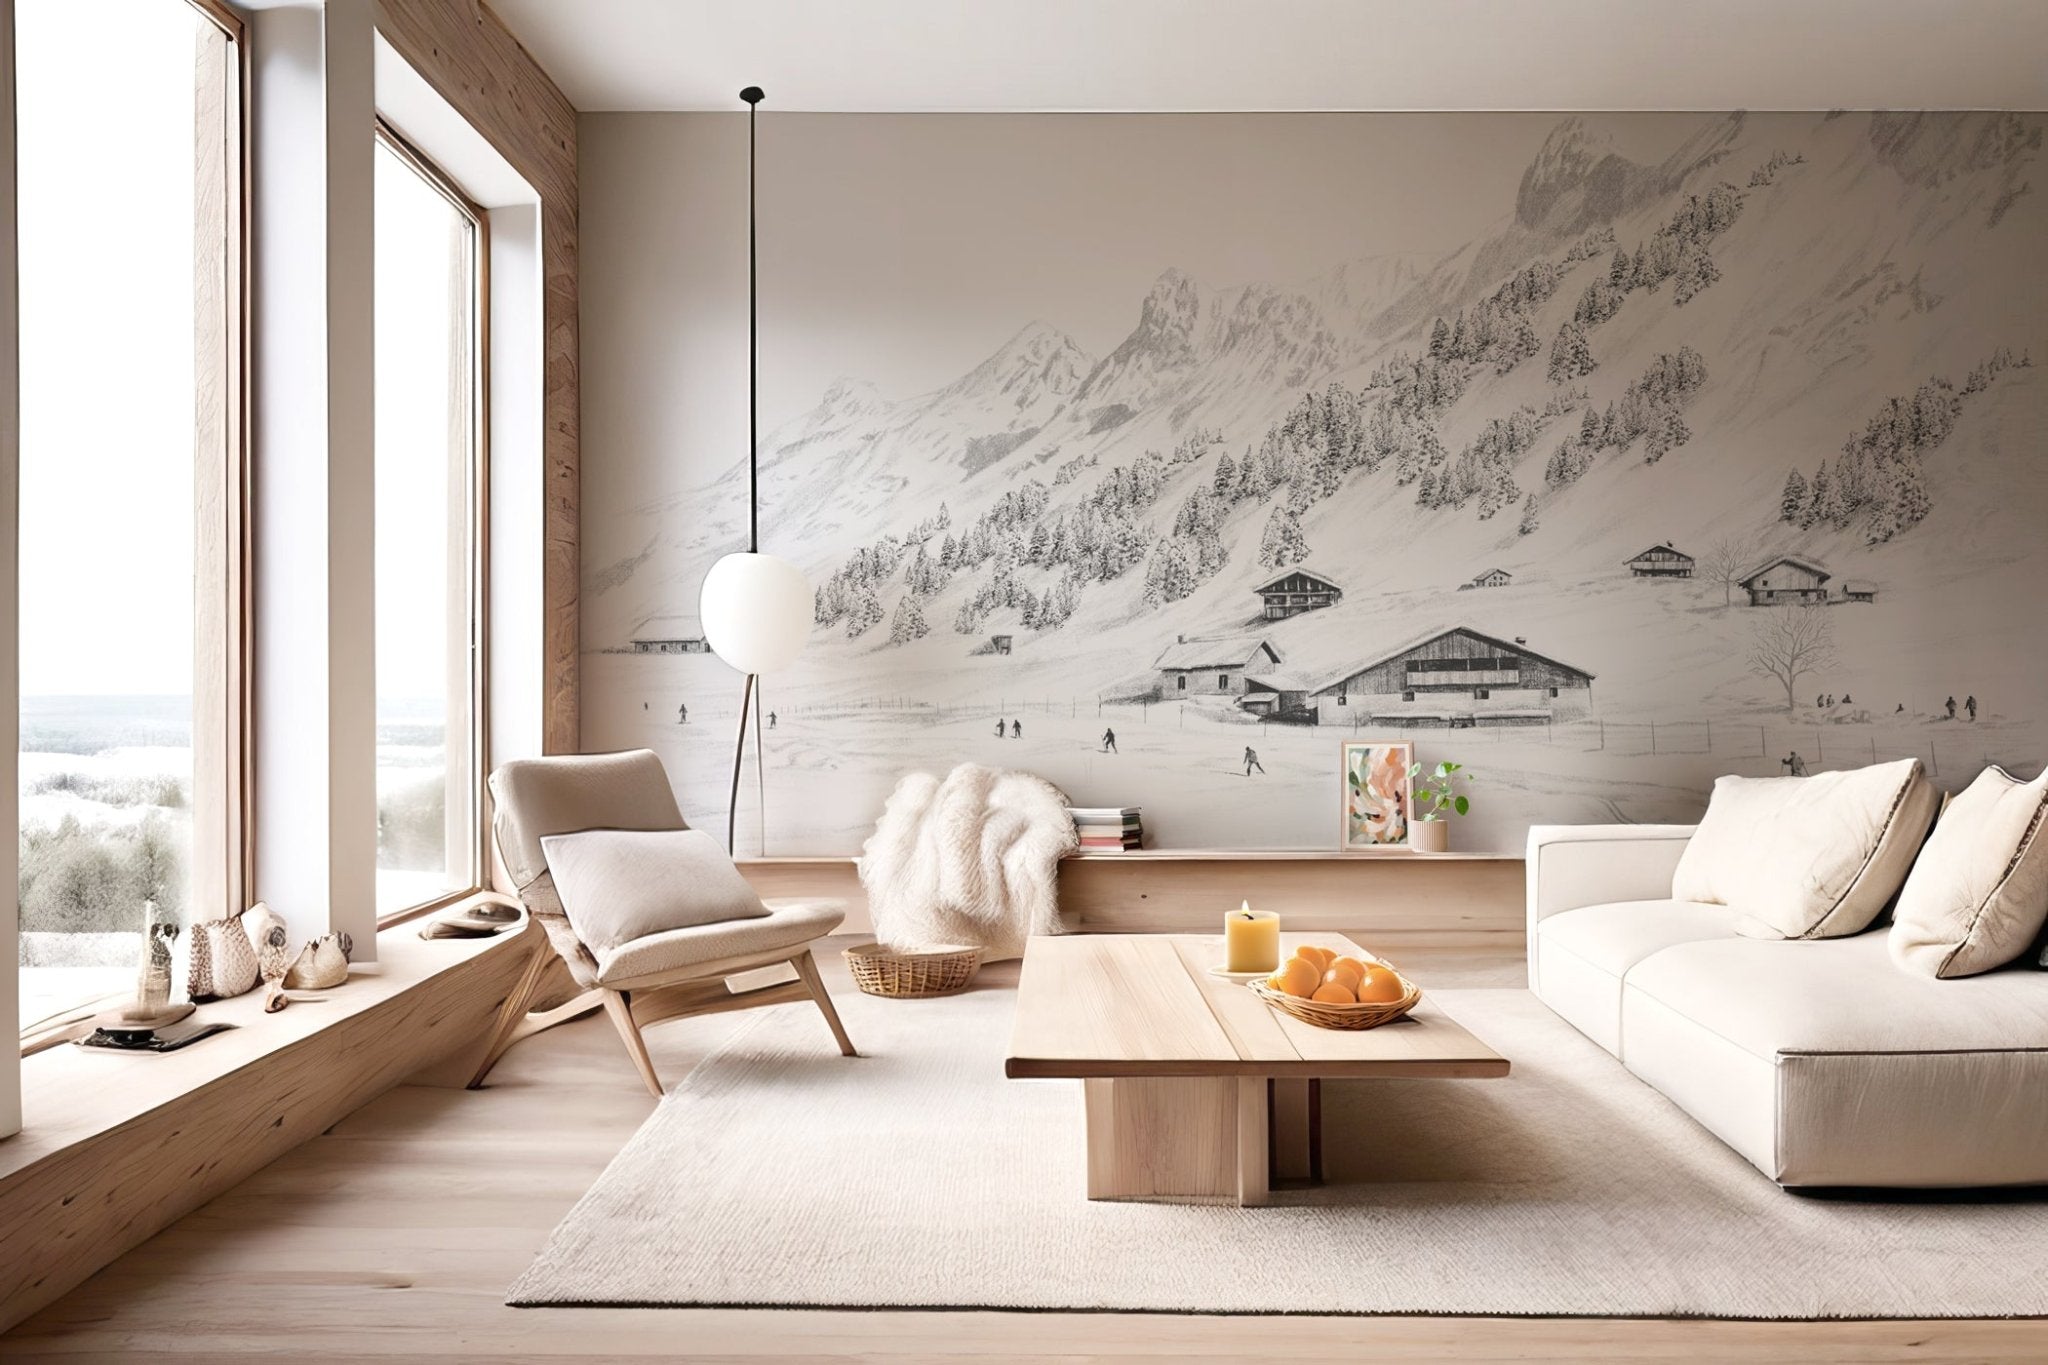
Your interior transformed with panoramic wallpaper
Trust our team to create the panoramic of your dreams. Don't wait any longer, it's time to change your decor.
