SPRING OFFER - 10% off the entire site with CODE FLEUR


How to install panoramic non-woven wallpaper successfully: our tips & advice

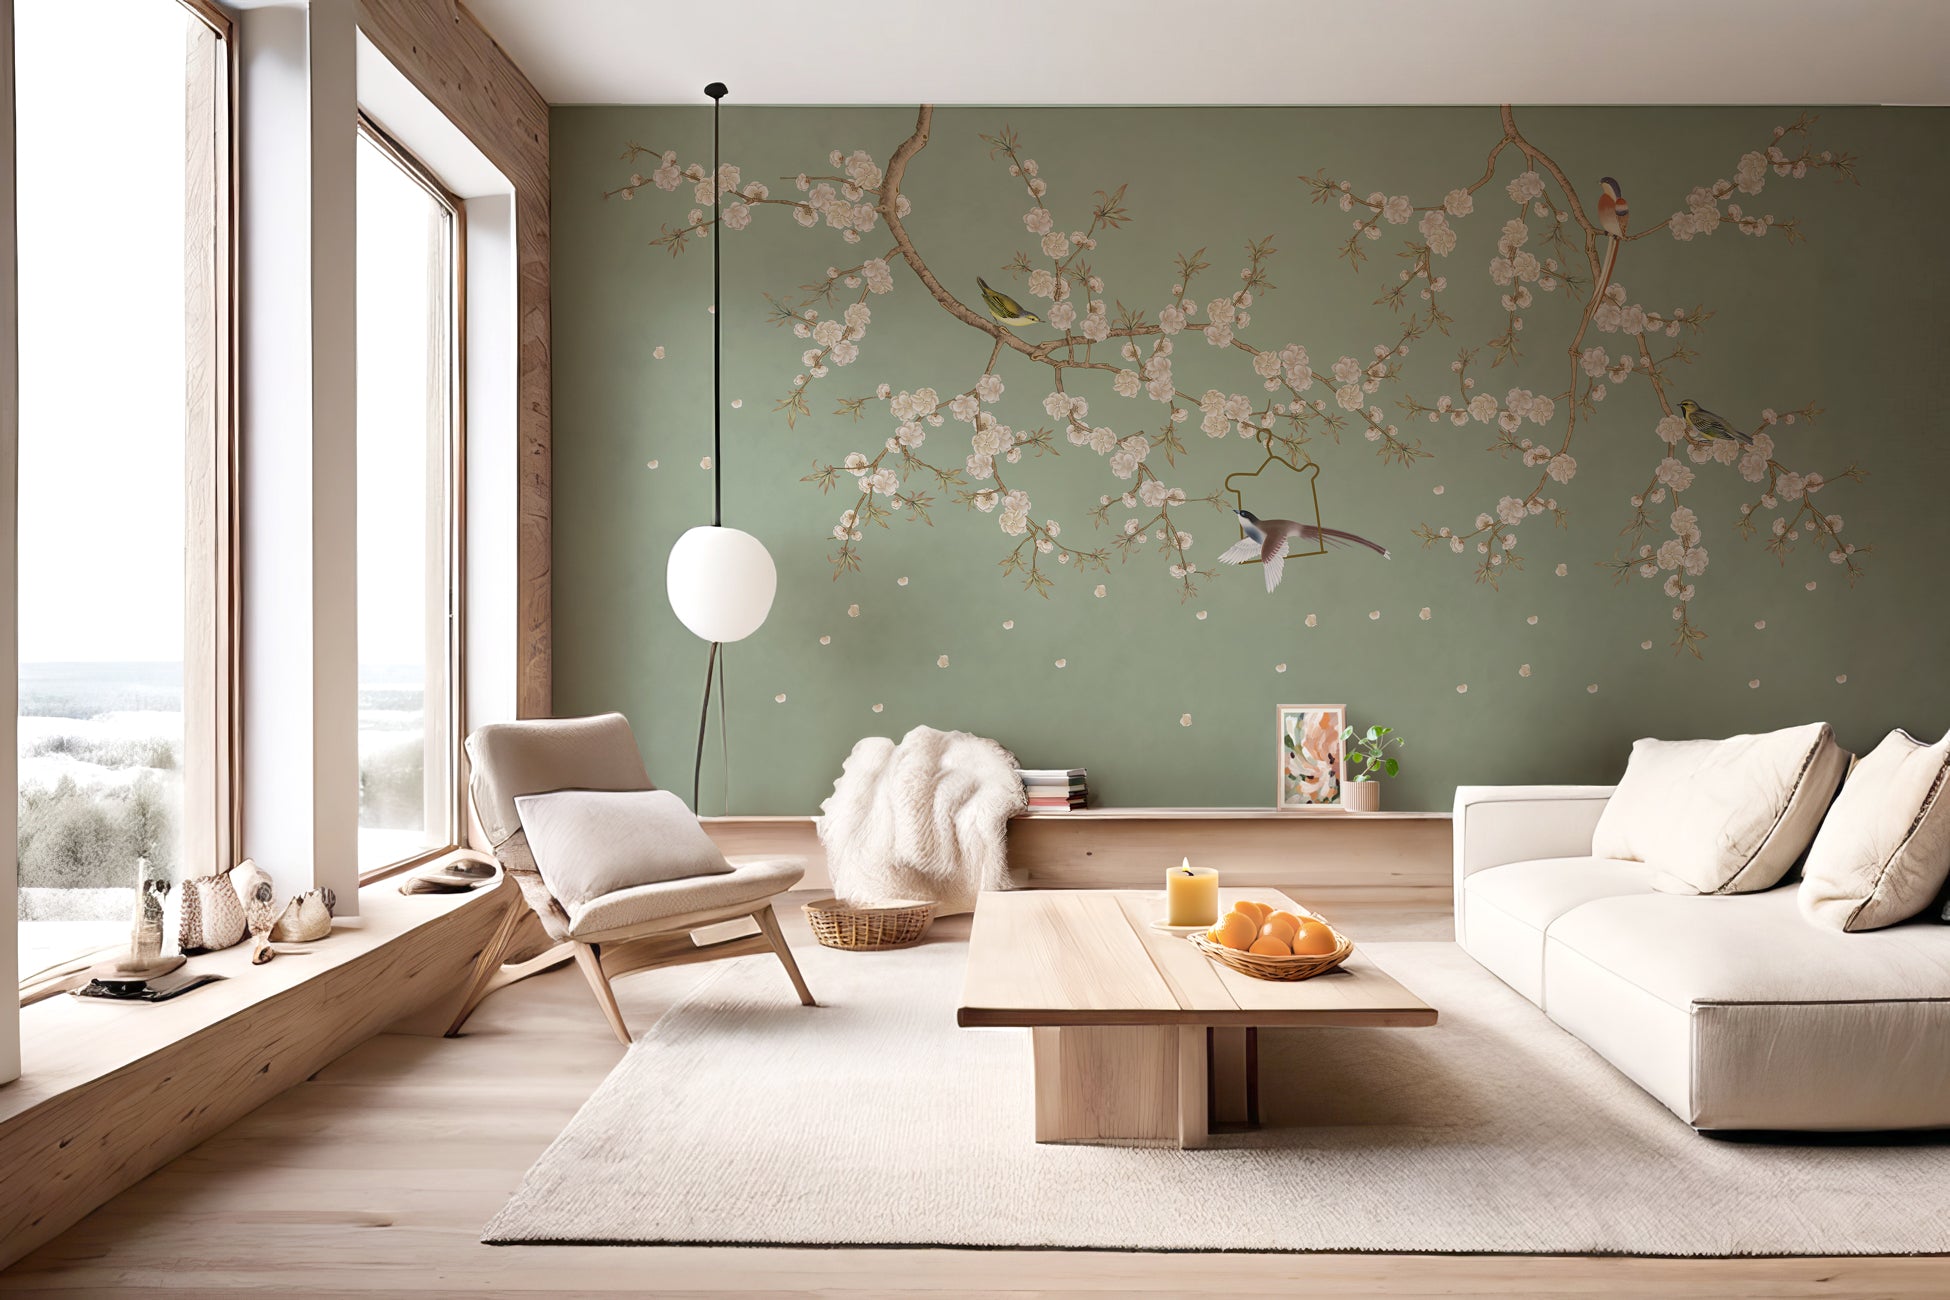
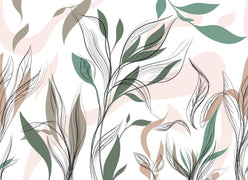
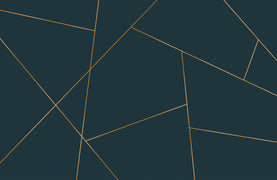
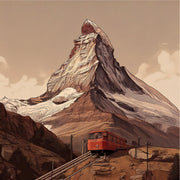
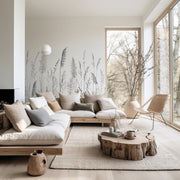
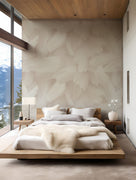
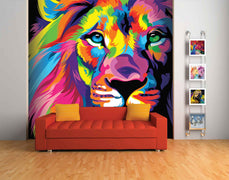
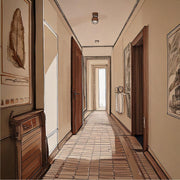
Panoramic wallpaper is a must-have for any successful interior design project, whether private or corporate. The decorative promise of panoramic wallpaper is the stuff of dreams. That's why, these days, everyone's jumping on board panoramic wallpapering.

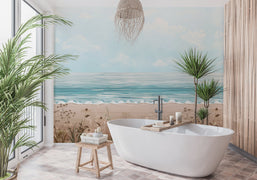
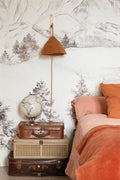
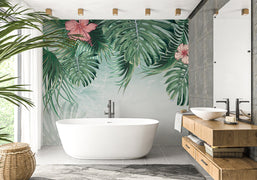
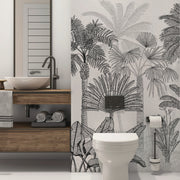
And yes, panoramic wallpaper is now easier to hang thanks to its design: non-woven wallpaper is much easier to hang than woven wallpaper. Made from compacted natural wood fibers, non-woven wallpaper is more resistant, and gluing is wall-only, which clearly facilitates its installation.

Today, everyone can install panoramic non-woven wallpaper: beginners, DIY enthusiasts, regulars and professionals alike. So whether you're dreaming of wallpapering your bedroom, hallway, living room, kitchen or bathroom, anything is possible. As a specialist in French non-woven panoramic wallpaper, follow our tips and advice to install your wallpaper like a pro. If you're looking for how to hang panoramic wallpaper, click on this link.

Preparing your room and wallpaper

When you think of the preparatory steps involved in wallpapering, there's only one that springs to mind: preparing the wall so that it's smooth, clean and uniform in color. But did you know that a perfectly successful installation also matches the atmosphere of your room and your wallpaper? And yes, to hang wallpaper, you need to be in optimal conditions! To this end, when you receive your wallpaper, we invite you to hang it in the room where it will be used for a few days, so that it can absorb the room's temperature and humidity. Be careful, however, not to hang your wallpaper next to glass, to prevent it from overheating in the sun or picking up moisture from outside. Let's not forget that non-woven panoramic wallpapers are made from natural wood fibers, and therefore from living materials. It's important that your wallpaper acclimatizes to the overall ambience of your room before it's hung, to prevent the strips from shrinking too much.

Use pre-prepared glue for wallpapering

You'll find various brands of non-woven wallpaper paste on the market. We leave it up to you to decide which brand to choose. Be careful, however, which style of glue you choose: powdered or prepared.
Although both types of non-woven wallpaper paste work very well, there is a risk of error when you decide to buy powdered paste for your non-woven wallpaper. The preparation of these DIY glues needs to be extremely rigorous, to avoid a dosing error. We advise you to use a liquid glue, already prepared and ready to use. In this way, there's no stress: your glue will be correctly dosed and will enable the long-lasting application of your future panoramic non-woven wallpaper.

Our extra tip: if you've bought non-woven vinyl wallpaper, be aware that the material is considered heavy. To ensure that your wallpaper lasts, choose a heavy-duty non-woven wallpaper paste.

Fittings and retouching: I'm afraid I'm going to miss my panoramic wallpaper strip fitting. What can I do?

To begin with, we urge you not to be apprehensive about the stage of joining your wallpaper. If you're in any doubt, you're more likely to do damage. So take a deep breath and concentrate.

Joining the strips is the most delicate part of your installation, as they will shrink slightly as they dry. When laying, make sure your strips are laid edge-to-edge: they must touch properly. If there isn't enough adhesive, there's a risk of shrinkage, as the substrate absorbs all the adhesive. Our tip: Apply a good 1 mm of glue everywhere.  

If, when drying, you unfortunately notice a slight seam, don't panic! You can use the magic pen technique. To do this, you need to buy a felt-tip pen in the same color as your wallpaper (you can also use a colored pencil if your wallpaper is pastel), to iron color into the joins.

If your wallpaper will be a dark color (e.g. black), we advise you to paint the wall on which your wallpaper will be hung black. This way, even if the joints are slightly visible, the paint will be there for a perfect finish.


A precise, clean cut around the edges of the wallpaper

Very often, the edges of our walls are irregular for a number of reasons: they're plastered, made of wood or brick, or simply because the wall design is old and hasn't been refurbished. When you put up your wallpaper, you'll come across a problem that can spoil the final result: an irregular cut following the cutting of your wallpaper in the corners of the wall. To overcome this problem, and avoid friction around the edges of your wallpaper, we recommend that you deliberately cut 1mm before your edges (ceiling angles, wall sides and/or baseboard cut-outs) using an iron ruler. By doing so, you'll visually smooth out the irregularity of your wall perimeter. Be careful: this step requires you to cut very lightly, 1mm, because if you cut too much, you risk having the opposite effect.

The final touch, after your wallpaper has been completely hung

Once the job is finished, all your strips are laid, cut and, of course, cleaned. To achieve a professional result, you can finalize your installation by fitting a transparent finishing seam around the contours of your wall. As a result, all the contours of your wallpaper will be secure (to avoid snags and premature wallpaper peeling) and clean! Because we like our work done to perfection, and we're detail-oriented, this finishing seam could be just the thing for many of you. You can also use this trick if your wall edges are irregular.


MuralConcept, your preferred partner for wall decoration

Well done, you now have all the secret tips and tricks you need to install panoramic non-woven wallpaper like a pro. We wish you all the best with your installation, and look forward to helping you decorate your walls.

Still haven't found your panoramic wallpaper? Discover all our collections.